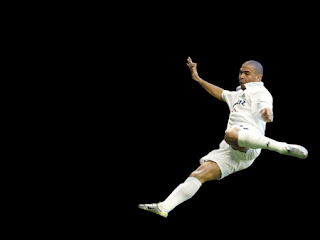
 Find in Internet a picture with Ronaldo.
 Cut out the picture and insert the image on our picture. Select the Free Transform option on the football player’s layer to turn over around the player as it is demonstrated below. The layer’s parameters: Blending mode-lighten
 Attention! All the next layers should be situated lower than the player’s layer on the layers’ panel. Create a new layer and select on it the Line Tool (U) for representing a line, which must be copied many times. We need also to choose again the Free Transform option to place the copies correctly.
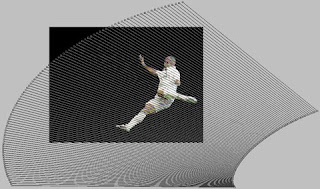 Paste together all those many copy – layers of the lines, press Ctrl button to mark out the necessary layers and press finally on CTRl+E. The new layer should get the parameters indicated below by making a double mouse’s click on the layer on the layers’ panel. Opacity 55%, Fill 0%
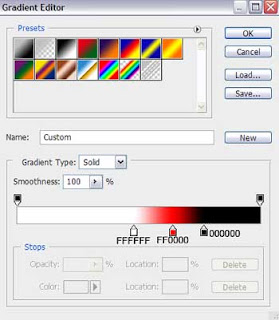
Blending Options>Gradient Overlay
 Gradient’s parameters:
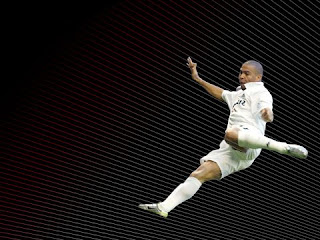 Create another new layer (Create new layer) and choose the Brush Tool (B) , Opacity 30% to paint the left upper picture’s corner in the next shown color - #033170
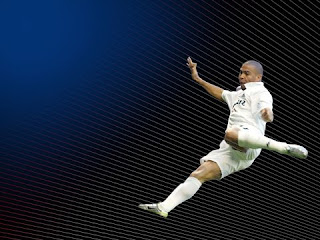 Create one more new layer (Create new layer) and select the standard Brush Tool (B), Opacity 30% to paint the right upper picture’s corner in the next shown color - #809BAB
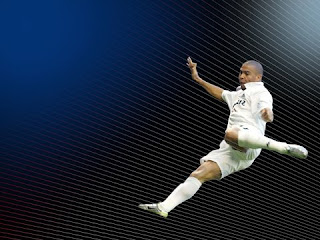 Applying the same instrument and the same method, it’s possible to introduce a new nuance on the lowest part of the picture. The color is #0A1009
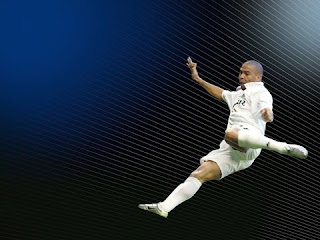 Find in Internet a picture of a football ball.
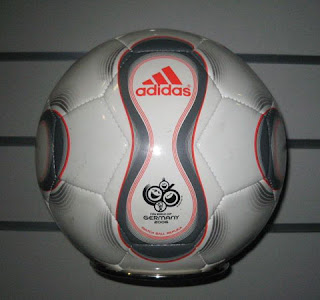 Cut out the ball and insert it on the picture.
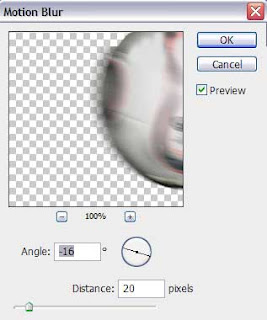
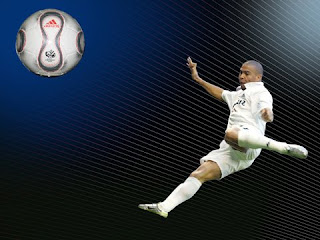 Apply the next demonstrated parameters for the ball’s layer. CTRL+M
 Filter>Blur>Motion blur
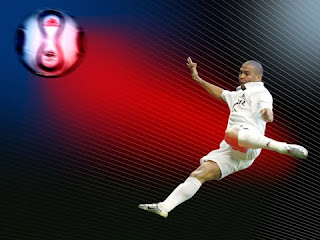
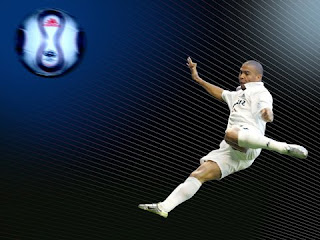 Create a new layer, selecting on it the usua Brush Tool (B) with blurred edges, Opacity of 30% to represent a kind of ball’s invisible tail, colored with #BF060E
 Create another new layer (Create new layer) and try to picture many white circles, that may be created with the same standard brush with blurred edges, Brush Tool (B).
 Using the Pen Tool (P) it’s possible to make a fillet of white color.
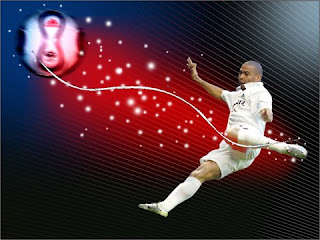 Try to make two more fillets, applying the same method.
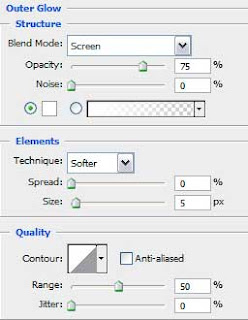
 Apply for each layer containing the fillets the same parameters: Blending Options>Outer Glow
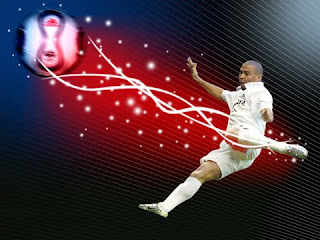 We need to combine in a group now all the layers containing those three white fillets (press Ctrl button to mark out the corresponding layers and hold on the left mouse’s button while moving the marked layers on Create a new group selection). Apply for the new group the next parameters: Opacity 66%, Blending mode-Linear Dodge
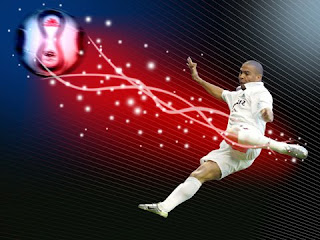 Create a new layer. Use on it the Brush Tool (B), Opacity of 10% to represent the fillets’ highlights.
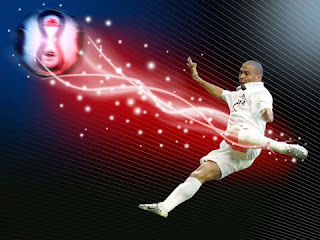 Make a copy of the last made layer:
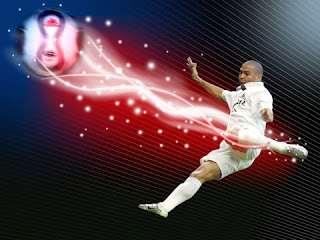 Next we’ll select the Ellipse Tool (U) and the color #7CE87E to give to the picture a basic nuance.
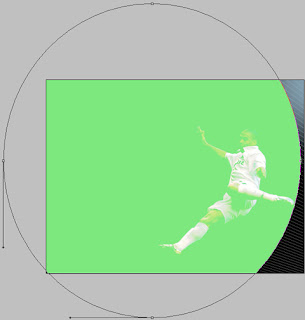 The layer’s parameters: Fill 30%
Blending mode-Color Dodge
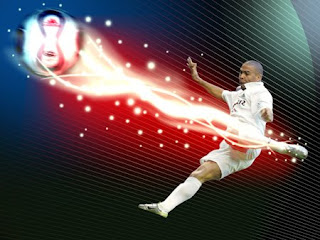 Finished!


0 komentar:
Posting Komentar